Freezing grapes extends their shelf-life and are just as healthy as fresh ones. Get the step-by-step tutorial on how to freeze grapes, plus tips for preventing freezer burn.
Freezing Grapes
Grapes last about 2 weeks in the refrigerator. But freezing them will keep them for much longer.
The process of freezing slows the breakdown of nutrients so frozen grapes are just as nutritious as fresh ones, if not healthier.
Frozen grapes are tasty in smoothies. They’ll thicken and chill the smoothie so you won’t need to use ice.
RELATED: How to Freeze Blueberries
Step-by-Step Instructions
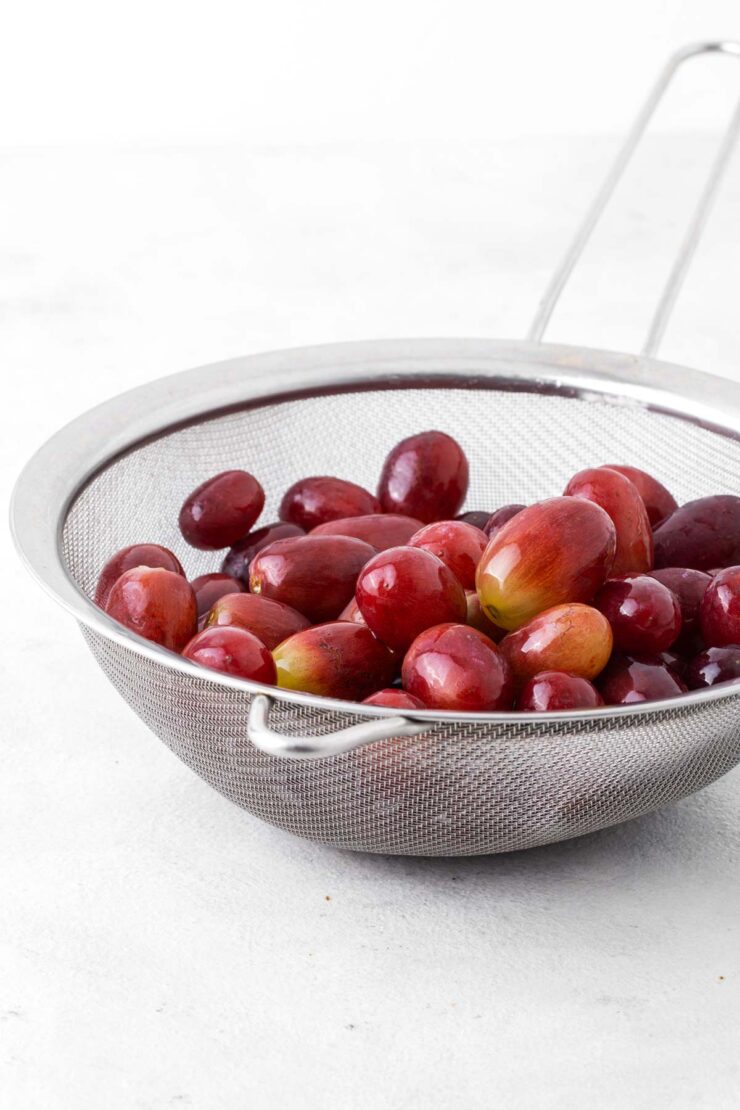
Step 1: Place the grapes in a colander. Wash them under cool running water.

Step 2: Transfer the grapes onto a clean towel. Pat dry.
Roll the grapes around to ensure they’re completely dry.
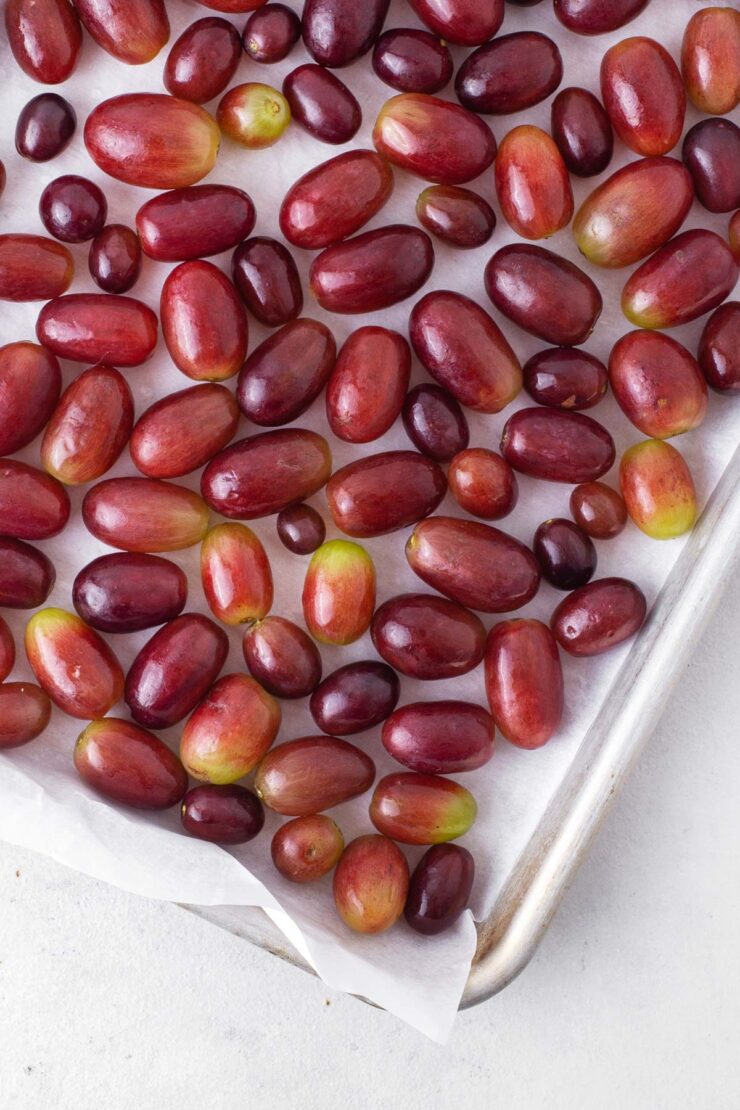
Step 3: Place the grapes on the baking sheet in a single layer.
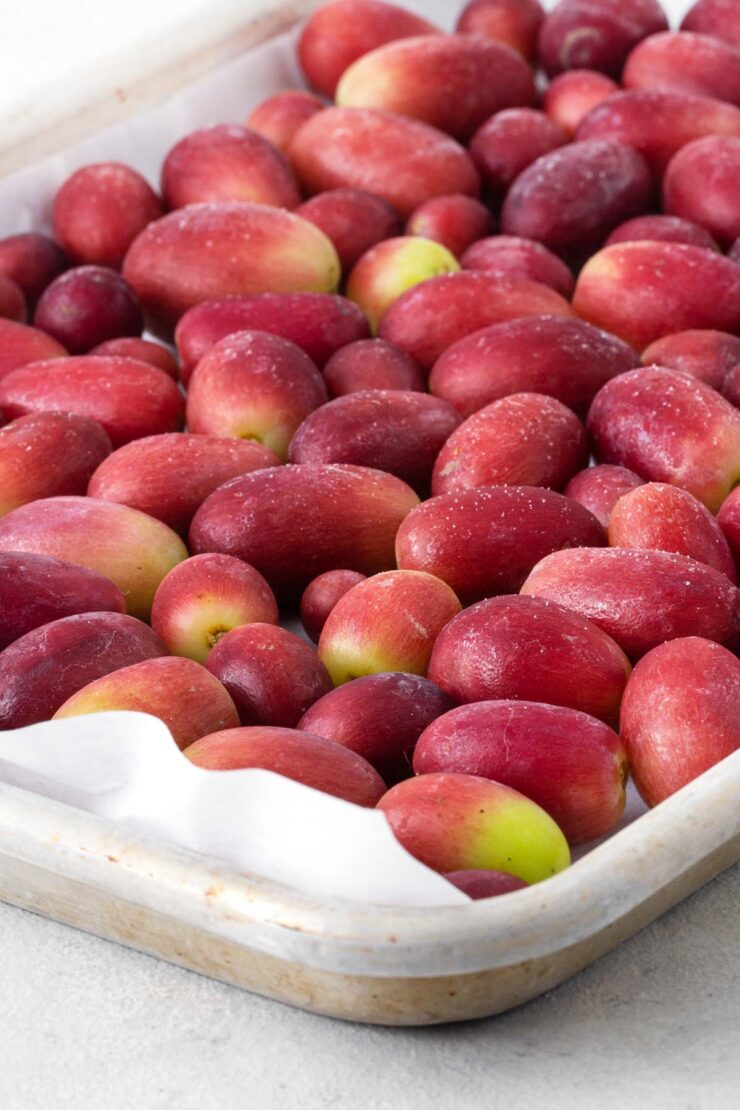
Step 4: Transfer the baking sheet to the freezer. Freeze.

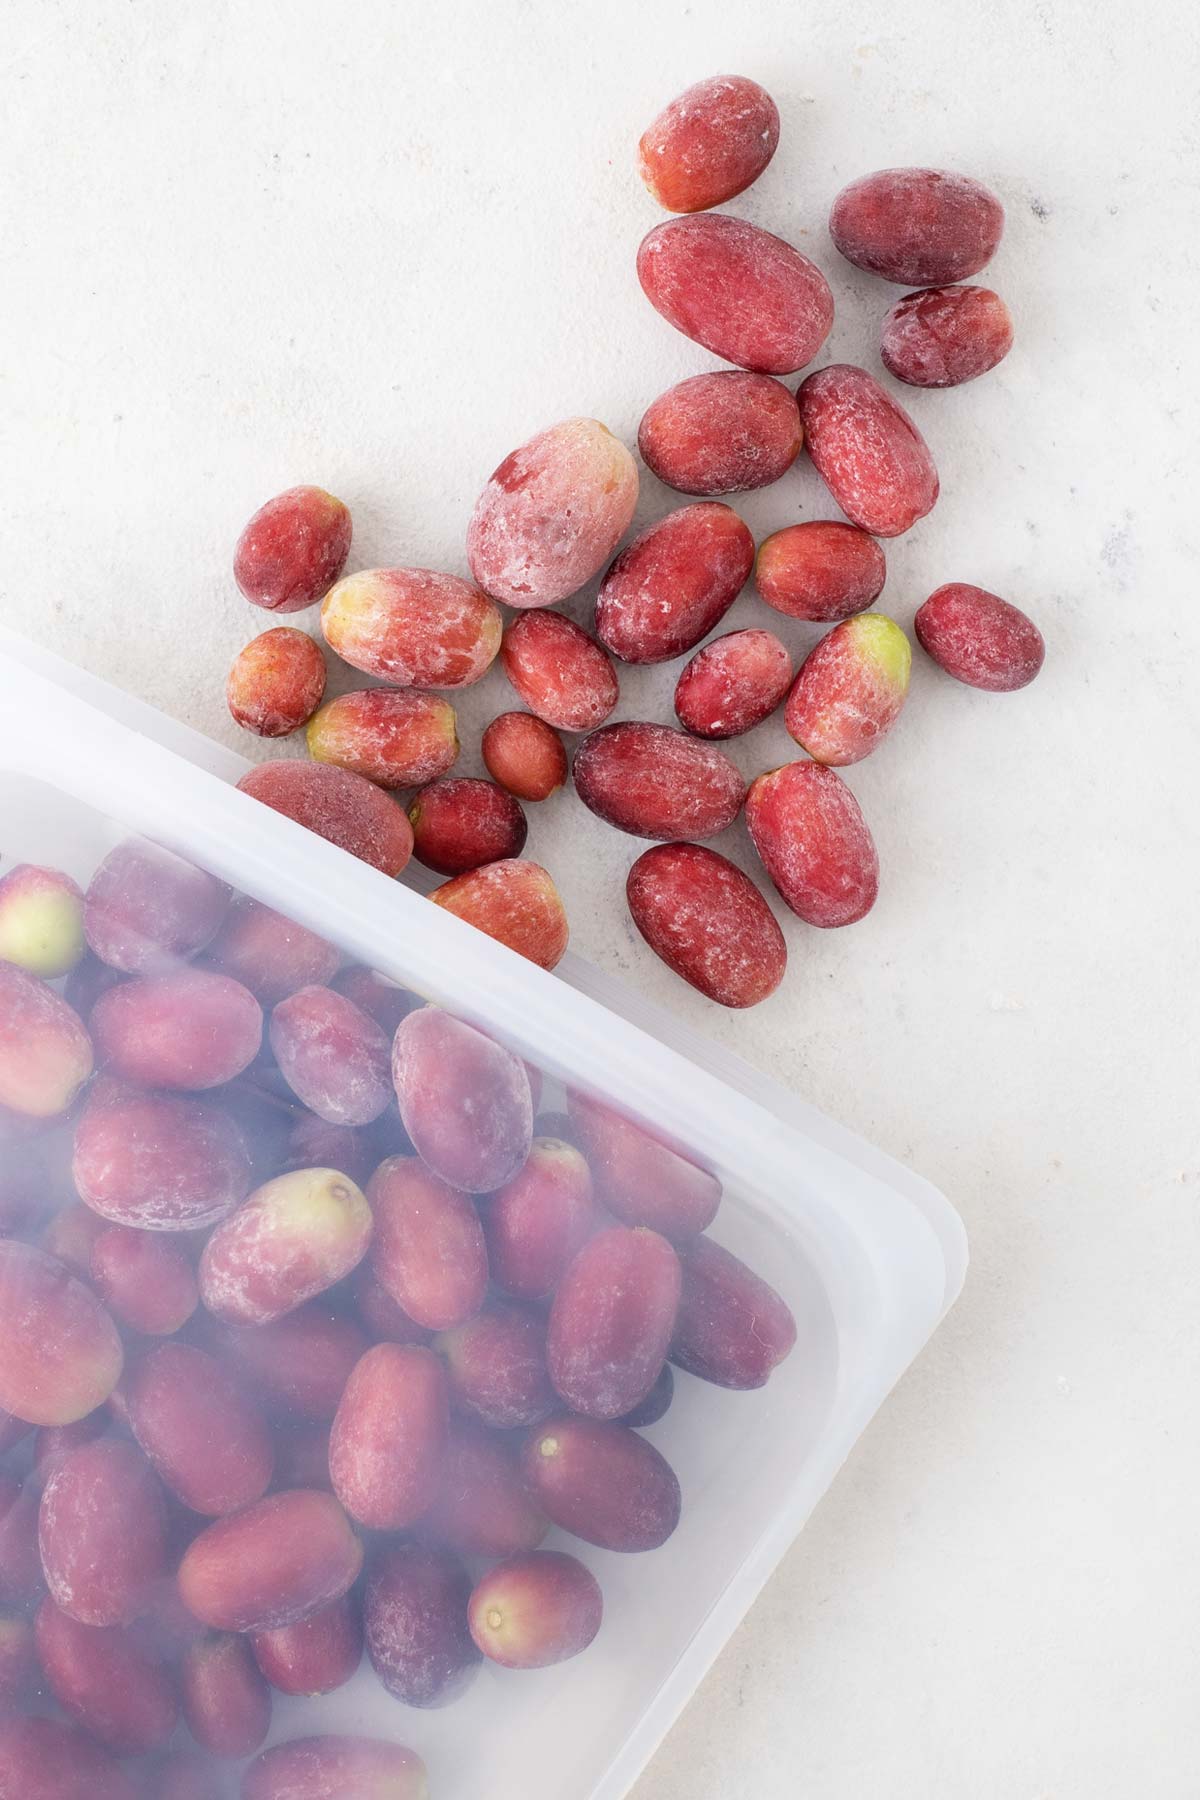
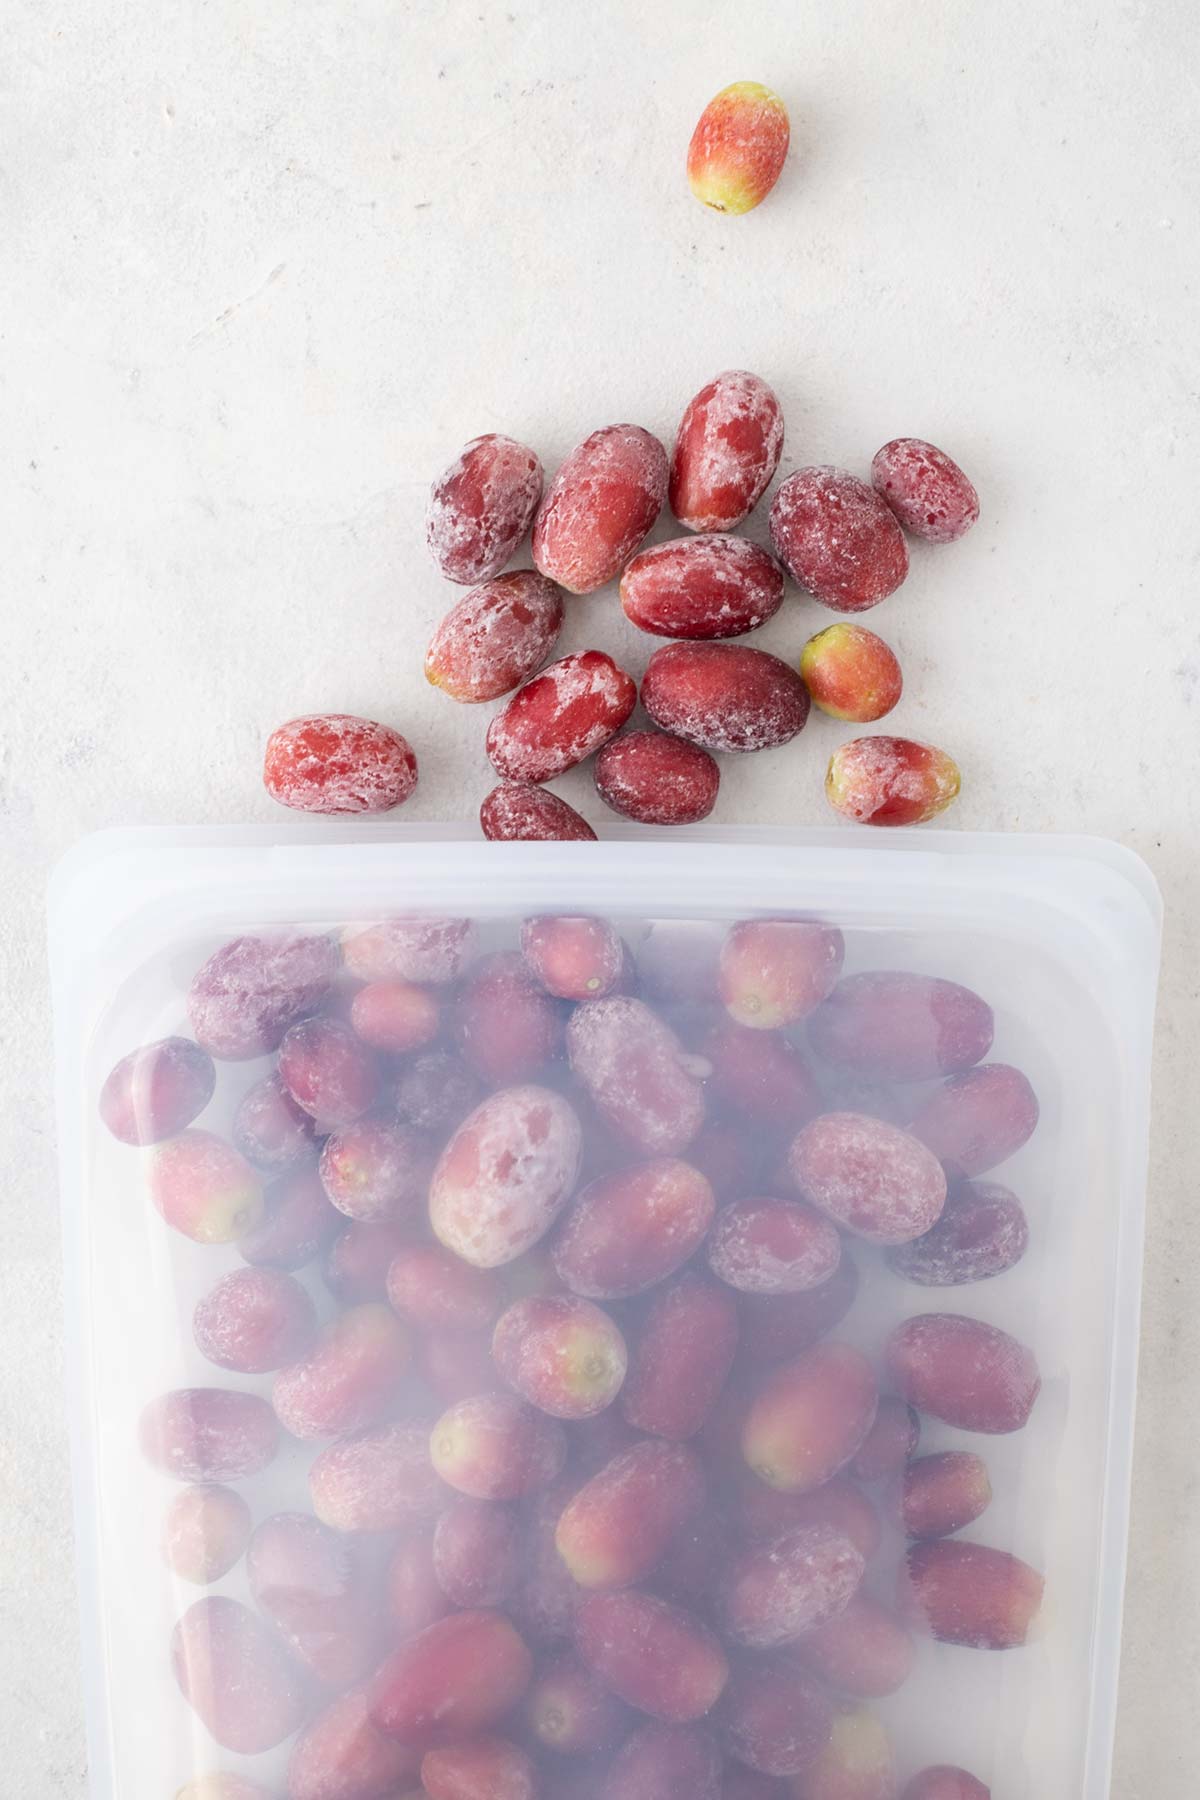
Step 5: Put the grapes in a freezer-safe bag and store in the freezer.
Photo Credit: amazon.com
Expert Tips
Only use fresh grapes.
For the best flavor and texture, freeze grapes that are fresh and plump.
Avoid freezing grapes that are mushy, wrinkly, or moldy. They should be tossed.
Note that grapes, especially darker grapes, might have a white film on them. This isn’t mold, so they’re still safe to eat.
Take off the stems.
When you remove grapes from the bunch, they might still have a stem attached.
Always remove the stems before freezing grapes. This will ensure the stems aren’t blended into your smoothies.
Make sure the grapes are dry.
The grapes should be completely dry before going in the freezer. Otherwise, the extra moisture will make the grapes stick together.
Freezing dry grapes will avoid clumping and help them freeze separately.
Use a plate.
A freezer-safe plate can be used instead of a baking sheet. This is helpful if you don’t have a lot of space in the freezer or your baking sheets are too big.
You can also use a disposable aluminum pie pan or dish.
Questions You May Have
Always wash grapes before putting them in the freezer. It will help remove dirt and debris. Just be sure to dry them well so they don’t clump together in the freezer.
Frozen fruits, including grapes, will last about 8-12 months. You can still use them after 12 months, but the flavor and quality won’t be as good.
Grapes have a lot of water, so their texture will change when frozen. This is fine for smoothies because the frozen consistency will thicken the drink. But if you let the grapes thaw, they’ll become mushy.
Related
- How to Freeze Ginger
- How to Freeze Avocados
- How to Freeze Bananas
- How to Freeze Blueberries
- How to Freeze Kale
If you tried this tutorial on How to Freeze Grapes, please leave a ⭐⭐⭐⭐⭐ star rating and let me know how you like it in the comments below.

How to Freeze Grapes Properly
INGREDIENTS
- Grapes
INSTRUCTIONS
- Prepare baking sheet.Line a baking sheet with a silicone mat or parchment paper.
- Wash and dry the grapes.Place the in a colander. Wash them under cool running water for 10 to 20 seconds. Transfer the grapes on a clean towel. Pat dry. Make sure the grapes are completely dry.
- Put the grapes in the freezer for 1-2 hours.Place the grapes on the baking sheet in a single layer. Make sure the grapes aren't crowded together. Transfer the baking sheet to the freezer. Freeze for 1 to 2 hours, or until the grapes are frozen.
- Put frozen grapes into a freezer-safe bag and store in the freezer.Remove the excess air and press the seal to close. Use frozen grapes in 8-12 months for the best flavor.
NOTES
- Avoid freezing grapes that are moldy, mushy, or wrinkly. Only freeze grapes that are plump and fresh.
- Pick off the stems before freezing grapes.
- Make sure the grapes are completely dry before putting them in the freezer. This will prevent them from clumping together.
- You can use a freezer-safe plate or disposable aluminum pan instead of a sheet tray.